Expert Tips for Seamless Application: Achieving Professional Results with Contact Adhesives
Expert Tips for Seamless Application: Achieving Professional Results with Contact Adhesives
Key Takeaways
- Surface Preparation: Clean, dry, and degrease surfaces thoroughly for optimal bonding.
- Even Application: Use a brush, roller, or notched trowel for a uniform adhesive layer.
- Correct Drying Time: Allow the adhesive to become tacky, following the manufacturer’s guidelines.
- Applying Pressure: Use firm, even pressure across the bond area to eliminate air bubbles and secure the bond.
- Minimizing Bubbles: To avoid bubbles and wrinkles, employ the “tenting” technique for large surfaces or flexible materials.
- Achieving Clean Edges: Use painter’s tape for precise edges and remove the tape while the adhesive is tacky.
- Troubleshooting: Address weak bonds or imperfections by reviewing application steps or applying heat and pressure as needed.
Applying contact adhesives is a skill that, when mastered, can significantly elevate the quality and durability of your projects, be they in DIY crafts, home improvements, or industrial manufacturing. This guide is designed to walk you through the nuances of contact adhesive application, offering expert tips and strategies to achieve professional, seamless results every time.
Understanding Contact Adhesives
Contact adhesives, known for their strong, immediate bonding capabilities, require a unique approach compared to traditional adhesives. These solvent-based or water-based adhesives are applied to both surfaces to be bonded, which then need to dry until tacky before being pressed together to form an instantaneous, durable bond.
Key Properties
- Immediate Bond: Once the surfaces touch, the bond is instant.
- Strength: Offers a high-strength, permanent bond.
- Versatility: Bonds a wide range of materials, including plastics, metals, wood, and some rubbers and fabrics.
Pre-application Preparation
Surface Preparation
Achieving a seamless bond starts with meticulous surface preparation. Surfaces should be clean, dry, and free from dust, oil, or grease. Use a high-quality cleaner or degreaser like Forza’s to ensure optimal surface cleanliness.
Material Compatibility
Check the compatibility of the contact adhesive with your materials. Some adhesives are formulated for specific substrates. Testing on a small area can prevent project failures.
Proper Ventilation
Due to the solvent content in many contact adhesives, ensure your workspace is well-ventilated. Wearing protective gear, such as gloves and masks, is also advisable to safeguard against fumes.
Application Techniques for Seamless Results
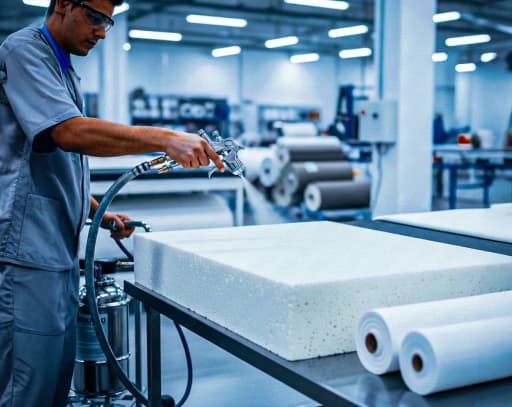
Even Application
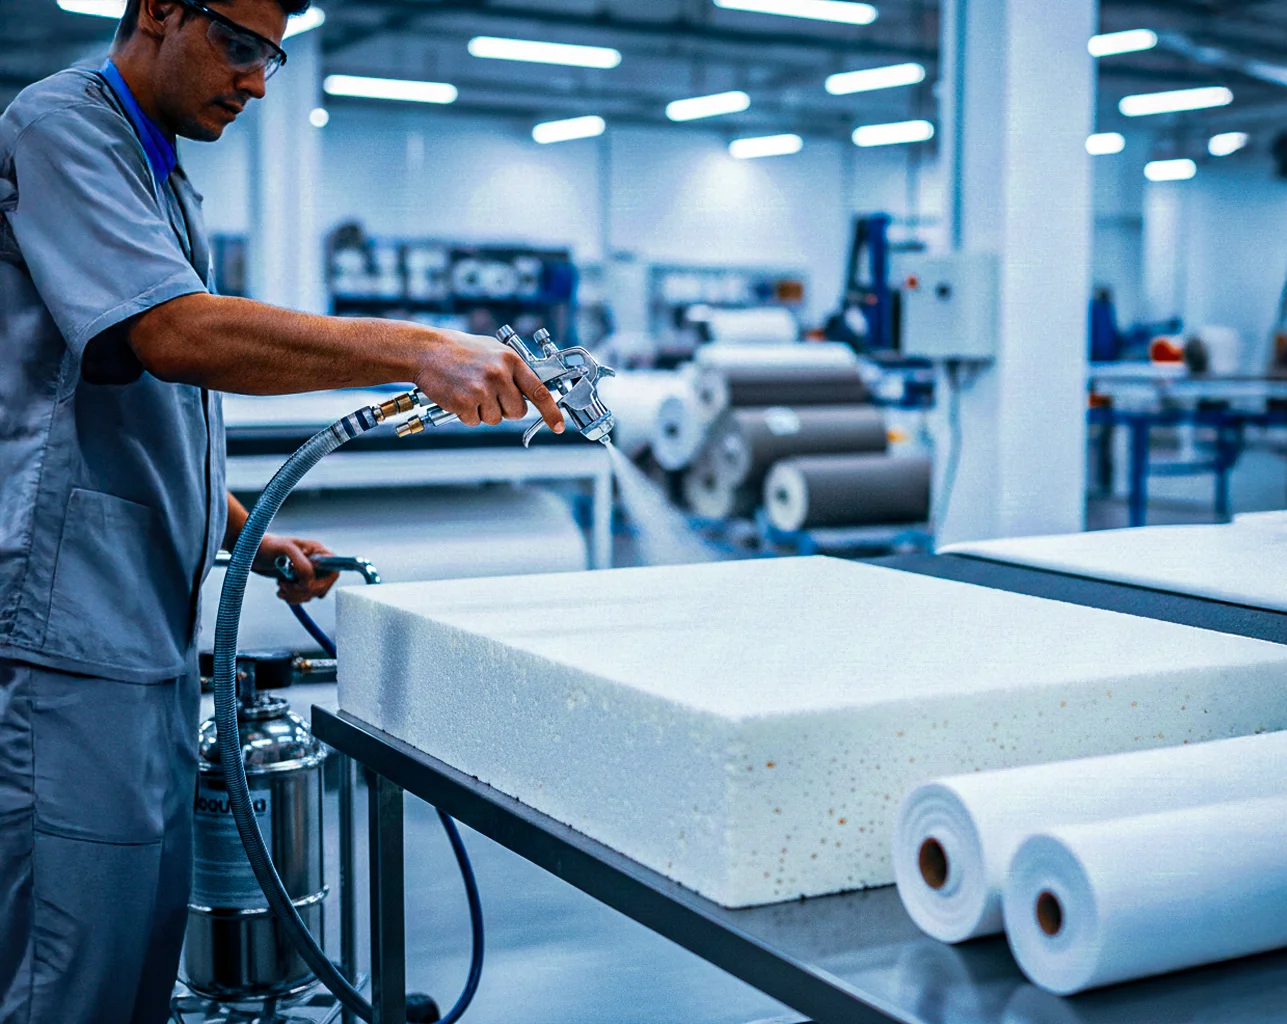
Use a brush, roller, or notched trowel to apply an even coat of adhesive on both surfaces. Achieving a uniform thickness ensures consistent bonding strength across the entire surface.
Correct Drying Time
Allow the adhesive to dry until it’s tacky to the touch but does not transfer to your fingers. This timing can vary based on environmental conditions, so follow the manufacturer’s recommendations closely.
Applying Pressure
Once the surfaces are brought together, apply firm, even pressure across the entire bond area. Using a roller or a flat tool can help eliminate air bubbles and ensure a strong bond.
Advanced Application Tips
Minimizing Bubbles and Wrinkles
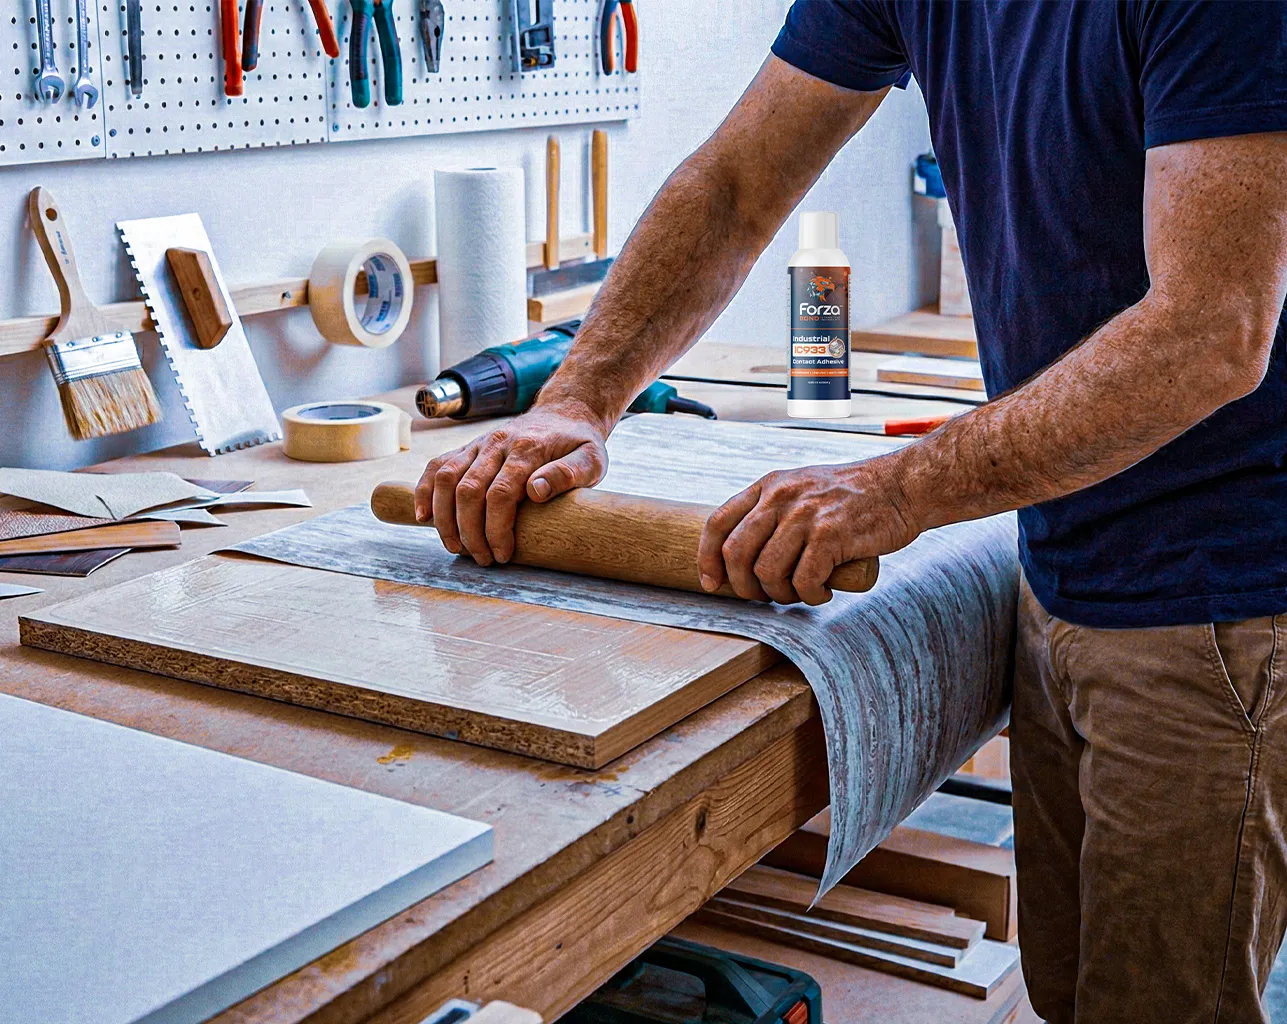
For applications involving large surfaces or flexible materials like laminates, use a ” tenting ” technique to minimize bubbles and wrinkles. Gently bend the material so that the middle touches down first, then lay down the rest of the material, smoothing it from the center to the edges.
Achieving Clean Edges
Painter’s tape can be used to mask off areas around the bond site to achieve clean, precise edges. For the best results, remove the tape while the adhesive is still tacky.
Cleanup and Maintenance
Solvent-based adhesives require specific cleaners to remove them from tools and surfaces. Warm, soapy water may suffice for water-based adhesives. Always clean your tools promptly to maintain their condition and performance.
Troubleshooting Common Issues
Weak Bonds
Weak bonds are often the result of insufficient adhesive, improper drying time, or inadequate pressure during bonding. Review each step of the application process to identify and correct the issue.
Bubbles and Imperfections
If bubbles or imperfections appear after bonding, depending on the materials and adhesive used, it may be possible to correct them by carefully applying heat (with a heat gun) and pressure to the area.
Conclusion: The Art of the Bond
Mastering the application of contact adhesives opens up a world of possibilities for creating strong, durable, and professional-quality bonds. By following these expert tips, you can achieve seamless results that stand the test of time.
Forza’s commitment to innovation and excellence extends beyond our advanced industrial cleaners and degreasers. We support your projects with expertise and high-performance solutions. Contact Forza for project-specific advice or to discover the right products for your application needs. Together, we can achieve outstanding results, ensuring your projects are successful and exceed expectations. With Forza, you’re equipped to tackle any challenge, ensuring every bond is a testament to quality and durability.
FAQ
How do I prepare surfaces before applying contact adhesives?
Proper surface preparation is critical for achieving a strong bond with contact adhesives. Surfaces should be clean, dry, and free of dust, oil, or grease. Using a high-quality cleaner or degreaser, such as those offered by Forza, ensures the surfaces are optimally prepared for adhesive application. It’s also essential to ensure the workspace is well-ventilated and to wear protective gear to safeguard against fumes.
What’s the best way to apply contact adhesives for a seamless bond?
To achieve a seamless bond with contact adhesives, apply an even coat to both surfaces using a brush, roller, or notched trowel. Ensure the adhesive is applied uniformly to avoid weak spots. Allow the adhesive to dry until it becomes tacky to the touch without transferring it to your fingers, following the manufacturer’s recommended drying times closely.
How do I apply pressure correctly after joining surfaces with contact adhesive?
After joining the surfaces, apply firm, even pressure across the entire bond area to ensure a strong, uniform bond. Using a roller or a flat tool helps eliminate air bubbles and secure the bond. This step is imperative for maximizing the adhesive’s strength and durability.
Can I minimize bubbles and wrinkles when applying contact adhesives?
Yes, to minimize bubbles and wrinkles, especially on large surfaces or with flexible materials, use the “tenting” technique. Gently bend the material so that the middle touches down first on the adhesive, then smooth out the rest of the material from the center to the edges. This method helps avoid trapping air and creates a smoother finish.
What should I do if I encounter weak bonds or imperfections after bonding?
Weak bonds may result from insufficient adhesive, incorrect drying time, or inadequate pressure during bonding. Reassess each step of your application process to identify and correct the issue. Depending on the materials and adhesive used, bubbles or imperfections may be corrected by carefully applying heat (with a heat gun) and pressure to the affected area. Always follow the adhesive manufacturer’s guidelines for troubleshooting to ensure the best results.
Related Articles
View All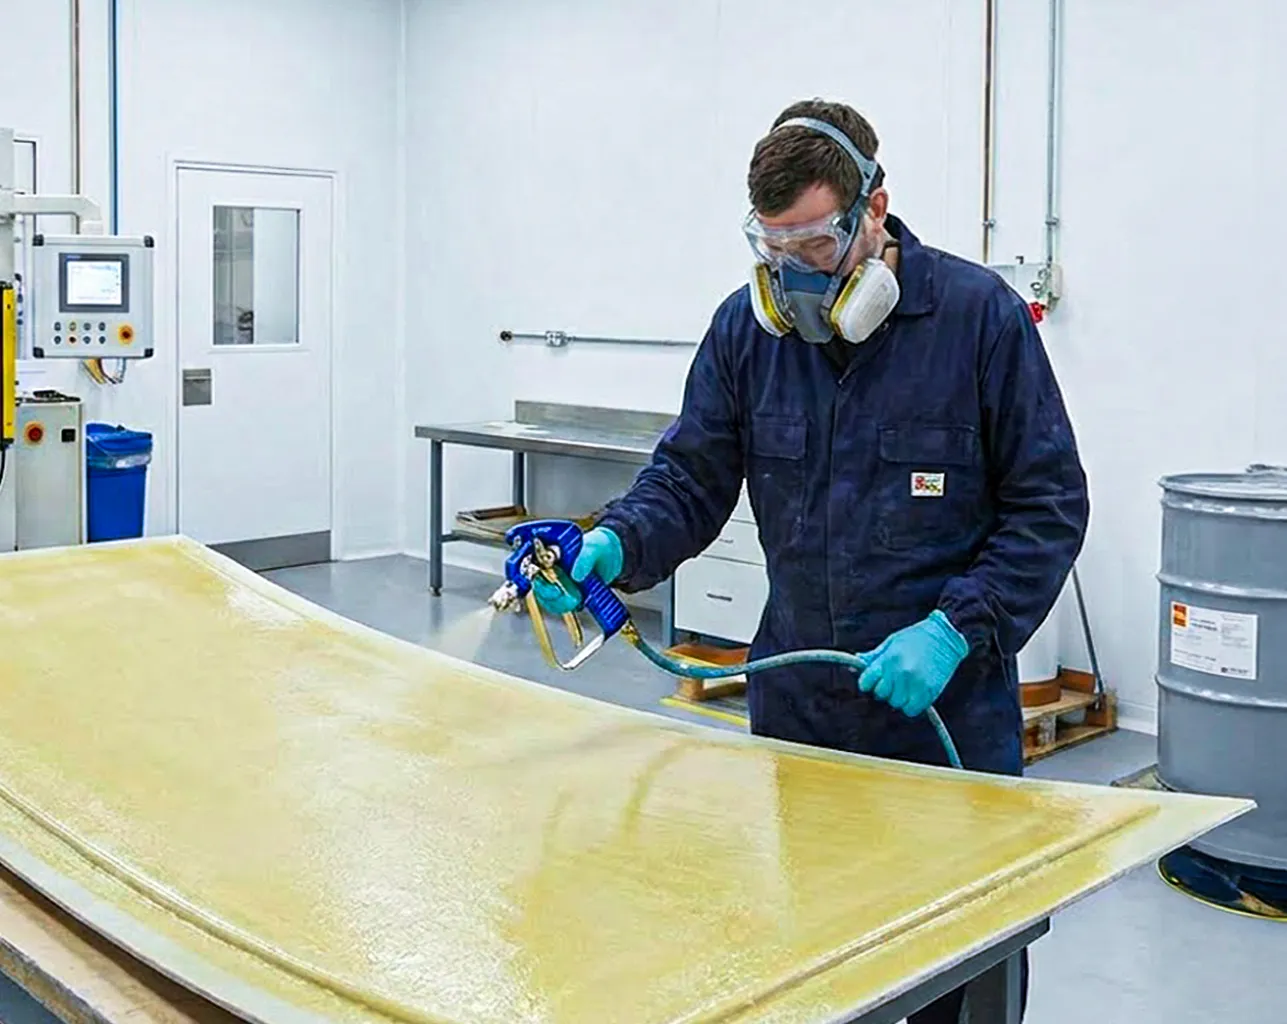
Recent Posts


Need Expert Advice
Our engineering team is ready to help you find the perfect adhesive solution for your application.
Contact an EngineerRecent News & Articles

Elevate Your Performance
Join Our Newsletter
Early access to new product launches and innovations
Exclusive industry insights and technical solutions
Expert tips and best practices for your applications
Follow Our LinkedIn
Stay informed with the latest industry insights & trends
Discover our latest product launches and innovations
Get expert tips and best practices for your applications